Changing the filters in your Reverse Osmosis system is essential. We recommend pre-filters are changed every 6 months, or earlier if you use a lot of water. RO-MAN systems have been designed to operate at their best with normal, routine maintenance. By changing the pre-filters on a regular six-month basis, any impurities in the water that may potentially clog the membrane will be eliminated. This can extend the life the of RO membrane.
Which filters?
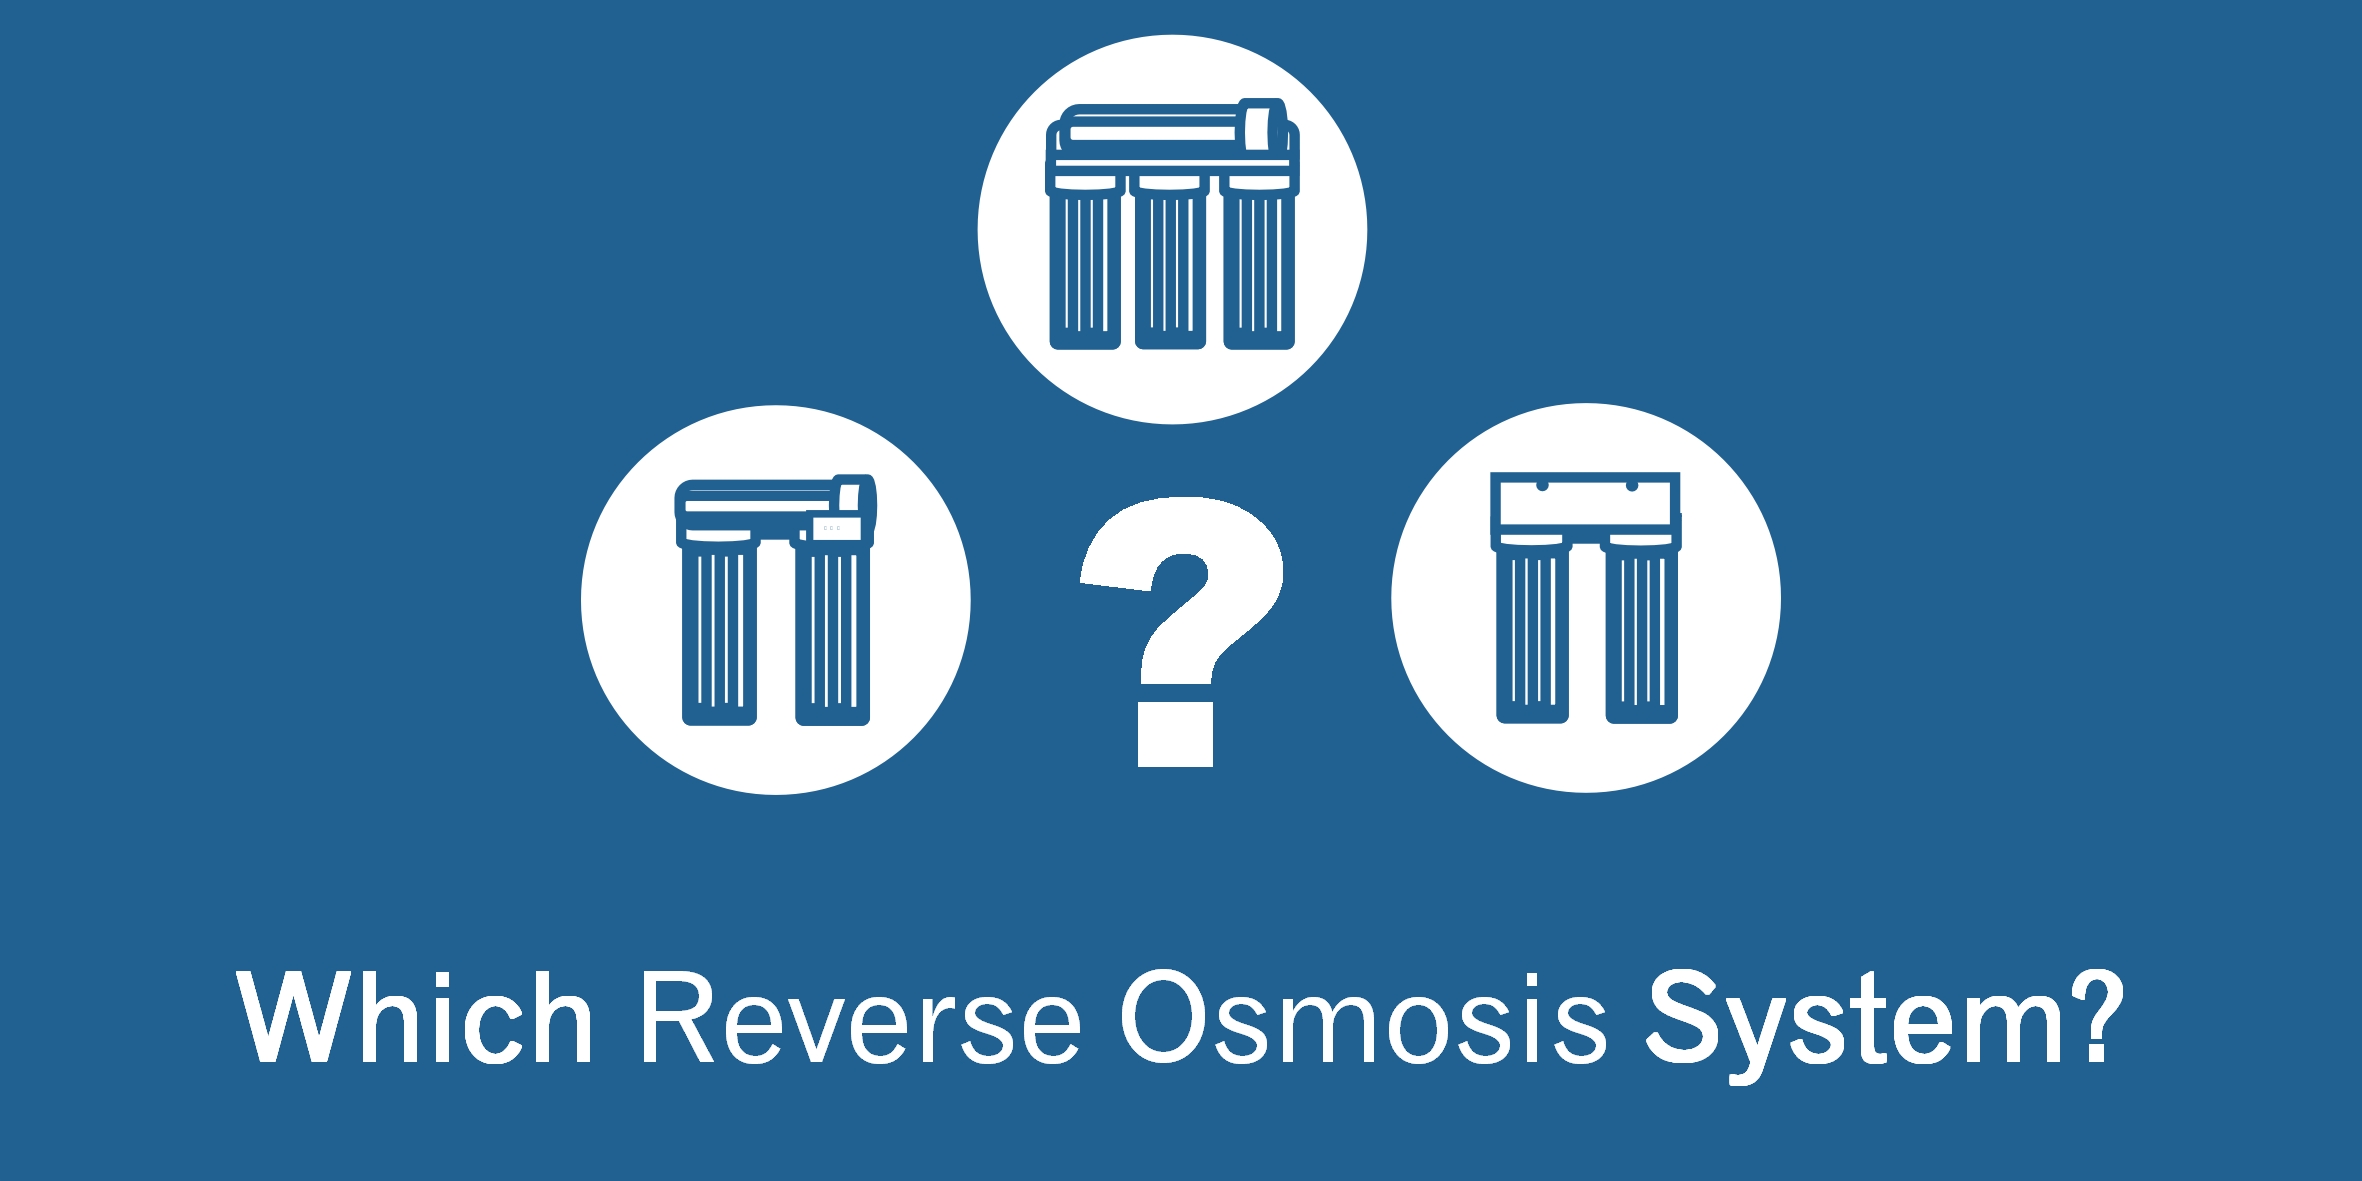
The first step is ensuring you have the correct replacement filter. With the range of RO systems on the market it is easy to get a little confused when choosing the correct filter set. While we do sell our filters individually, in order to get the best from your RO system we find that it is best to do a complete filter set change, rather than change the filters singly. This is also more cost effective both in buying the filters and in the productivity of your system.
Below we have outlined the filter set to match the correct Reverse Osmosis unit.
Reverse Osmosis and Deionisation
4 Stage Professional Reverse Osmosis System. Filters Needed: 4 Stage Professional System Replacement Filter Set – 10 inch 5 Micron Spun Sediment filter, 10 inch Carbon Block filter, Mixed Bed DI resin
3 Stage and 4 Stage Standard Systems
3 Stage Basic Reverse Osmosis System. Filters Needed: 3 Stage Basic System Replacement Filter Set – Inline 5 Micron Spun Sediment filter, Inline Carbon Block Filter
3 Stage Standard Reverse Osmosis System. Filters Needed: 3 Stage Standard System Replacement Filter Set – 10 inch 5 Micron Spun Sediment filter, 10 inch Carbon Block filter
4 Stage Standard Reverse Osmosis System. Filters Needed: 4 Stage Standard System Replacement Filter Set – 5 Micron Spun Sediment filter, Carbon Block filter, Mixed Bed DI Resin
Drinking Water and Household Systems
Drinking Water 6 Stage Purification System. Filters Needed: Drinking Water 6 Stage Purification System Replacement Filter Set – 10 inch 5 Micron Spun Sediment filter, 10 inch Carbon Block Filter, 10 inch Granulated Active Carbon Filter, Inline Taste and Odour Carbon filter, Inline Remineralising Carbon filter
FRESH 3 Stage System. Filters Needed: FRESH 3 Stage System Replacement Filter Set – 10 inch 5 Micron Spun Sediment filter, 10 inch CBR2 Carbon filter, 10 inch Chlorplus Carbon filter
INLINE HOUSE System. Filters Needed: INLINE HOUSE System Replacement Filter Set – 20 inch 5 Micron Spun Sediment filter and 20 inch Chlorplus Carbon filter
Dental Water Systems
Dental Water Reverse Osmosis System. Filters Needed: Dental Water Reverse Osmosis System Replacement Filter Set – 10 inch 5 Micron Spun Sediment filter, 10 inch Carbon Block filter, Mixed Bed DI Resin
Large Systems
3 Stage Triple Membrane System. Filters Needed: 3 Stage Triple Membrane System Replacement Filter Set – 10 inch 5 Micron Spun Sediment filter, 10 inch Carbon Block filter and 10 inch Chlorplus Carbon filter
200, 300 and 450 Large Systems. Filters Needed: 200, 300 and 450 Large System Replacement Filter Set – 10 inch 5 Micron Spun Sediment filter and 10 inch Carbon Block filter and 10 inch Chlorplus Carbon filter
4040 Reverse Osmosis Systems
4040 Reverse Osmosis System. Filters Needed: 4040 Reverse Osmosis Filter Set – 20 inch 5 Micron Spun Sediment filter and 20 inch Carbon Block filter
Heavy Metal Removal Systems
HMA 2000 Metal Removal System. Filters Needed: HMA 2000 Metal Removal System Filter Set – 10 inch 5 Micron Spun Sediment filter and 10 inch CBR2 Carbon filter
HMA 2010 Metal Removal System. Filter Needed: HMA 2010 Metal Removal System Filter Set – 10 inch 5 Micron Spun Sediment filter, 10 inch CBR2 Carbon filter and 10 inch Chlorplus Carbon filter
HMA 3020 Metal Removal System. Filters Needed: HMA 3020 Metal Removal System Filter Set – 20 inch 5 Micron Spun Sediment filter, 20 inch Chlorplus Carbon filter and Metal Removing Resin
HMA System Metal Removing 2100. Filters Needed: Long Life Metal Removing Unit 2100 ml – 10 inch 5 Micron Spun Sediment filter, 10 inch Carbon Block filter, Metal Removing Resin
We hope that you will find all the information that you need in order to choose the correct filter set for your RO unit. However, if you are in any doubt of which filter set you require or if you do not see your particular system on this list please do not hesitate to get in touch either via telephone or email helpdesk@ro-man.com. We will be happy to advise you further in choosing the correct filter set.
Filter Replacement Instructions
Even though most systems will have slight variations, these steps to replace filters should work for most. Before you begin, we advise that you wash your hands to avoid contaminating the new filters and the inside of your system. Waterproof covers and towels are a good idea to have on hand. You may find it convenient to have a container in which to placing the housings and old filters until you can dispose of them properly.
- Turn off the water supply and press the red pressure-relief button (if present). If you have a storage tank, switch it to closed. Open the RO faucet to release any pressure and drain the remaining water. Once the dripping stops, close the faucet.
- Place your container below the housings and unscrew by turning anticlockwise. You may find it easier to use a housing wrench for this. Discard any water and take out the old filter cartridges.
- Clean the filter housing and cap thoroughly.
- Check that the o rings on the housings are clean and in good condition. If they show any signs of wear they should be replaced. Should you need something to lubricate the o rings, silicone grease or petroleum jelly is suitable. Place the o rings in the correct position to avoid leaks.
- Unwrap the new filter cartridge and insert into the housing. Once you have ensured the filter and o ring is in place, screw the filter housing back into the cap. Again, you may find it easier to use a housing wrench. Be careful not to over tighten.
- To change inline filters, push in and hold down the collet against the quick connect fitting to pull out the tubing. Repeat this on both ends.
- Remove the cartridge and install replacement. The arrow will indicate the flow direction.
- Reconnect the filter by pushing the tubing into the fitting on both ends. Check for a secure connection by pulling back on the tubing.
- The water supply can now be switched back on and check the system for any visible air traps.
- Switch the tank and faucet on if they are part of your system. It is very important to flush the filters for at least 5 minutes, or until water runs clear before the system is used.
- Storage tanks should be filled completely and emptied at least once.
- The system is now ready for use.
Changing the Membrane
The lifespan of a RO membrane will depend on how they are treated and maintained. With proper maintenance of pre-filters, a membrane should last from 2 to 5 years.
The easiest method to determine if your membrane needs changing is by measuring water Total Dissolved Solids (TDS) with a TDS meter. Firstly, test the TDS of the tap water followed by testing the TDS of the RO water. A properly functioning membrane will have removed approximately 95% of all contaminants in the water. If you find this is not the case, it is time to replace your membrane.
It is good practice to replace the flow restrictor at the same time of replacing the membrane to keep your system operating efficiently. If you are unsure of the membrane you require, the number on your flow restrictor can help indicate this.
Flow restrictor number 300 = 50 GPD membrane
Flow restrictor number 420 = 75 GPD membrane
Flow restrictor number 550 = 100 GPD membrane
Flow restrictor number 800 = 150 GPD membrane
The majority of RO systems have one membrane located horizontally above the vertical filter housings. Membranes are quick and easy to replace:
- Begin by turning off the water supply. If you have a storage tank, close the valve and open the faucet to drain any remaining water and then close.
- To remove the tubing from the membrane housing cap, push in and hold down the collet against the quick connect fitting to release tubing. Pull the tubing out.
- Remove the cap by turning clockwise. You may find using a wrench will help.
- Take out the old membrane, use pliers if necessary.
- Clean the membrane housing thoroughly.
- Unwrap and insert the new membrane (with the two black o rings first) into the housing until it has sealed tight.
- Check that the black rubber o ring is in good condition and in place before screwing the housing cap back on.
- Reconnect the membrane by pushing the tubing into the cap fitting. Check for a secure connection by pulling back on the tubing.
- The water supply can now be switched back on and the system checked for leaks.
- Switch the tank and faucet on if they are part of your system. It is very important to flush the filters for at least 15 minutes.
- Storage tanks should be filled completely and emptied at least once.
- Discard the first one or two full tanks of water before use. This will flush out the preservative inside the membrane. If the water still has a strange taste or odour after two rounds, keep flushing until the water is suitable for use.

